


-
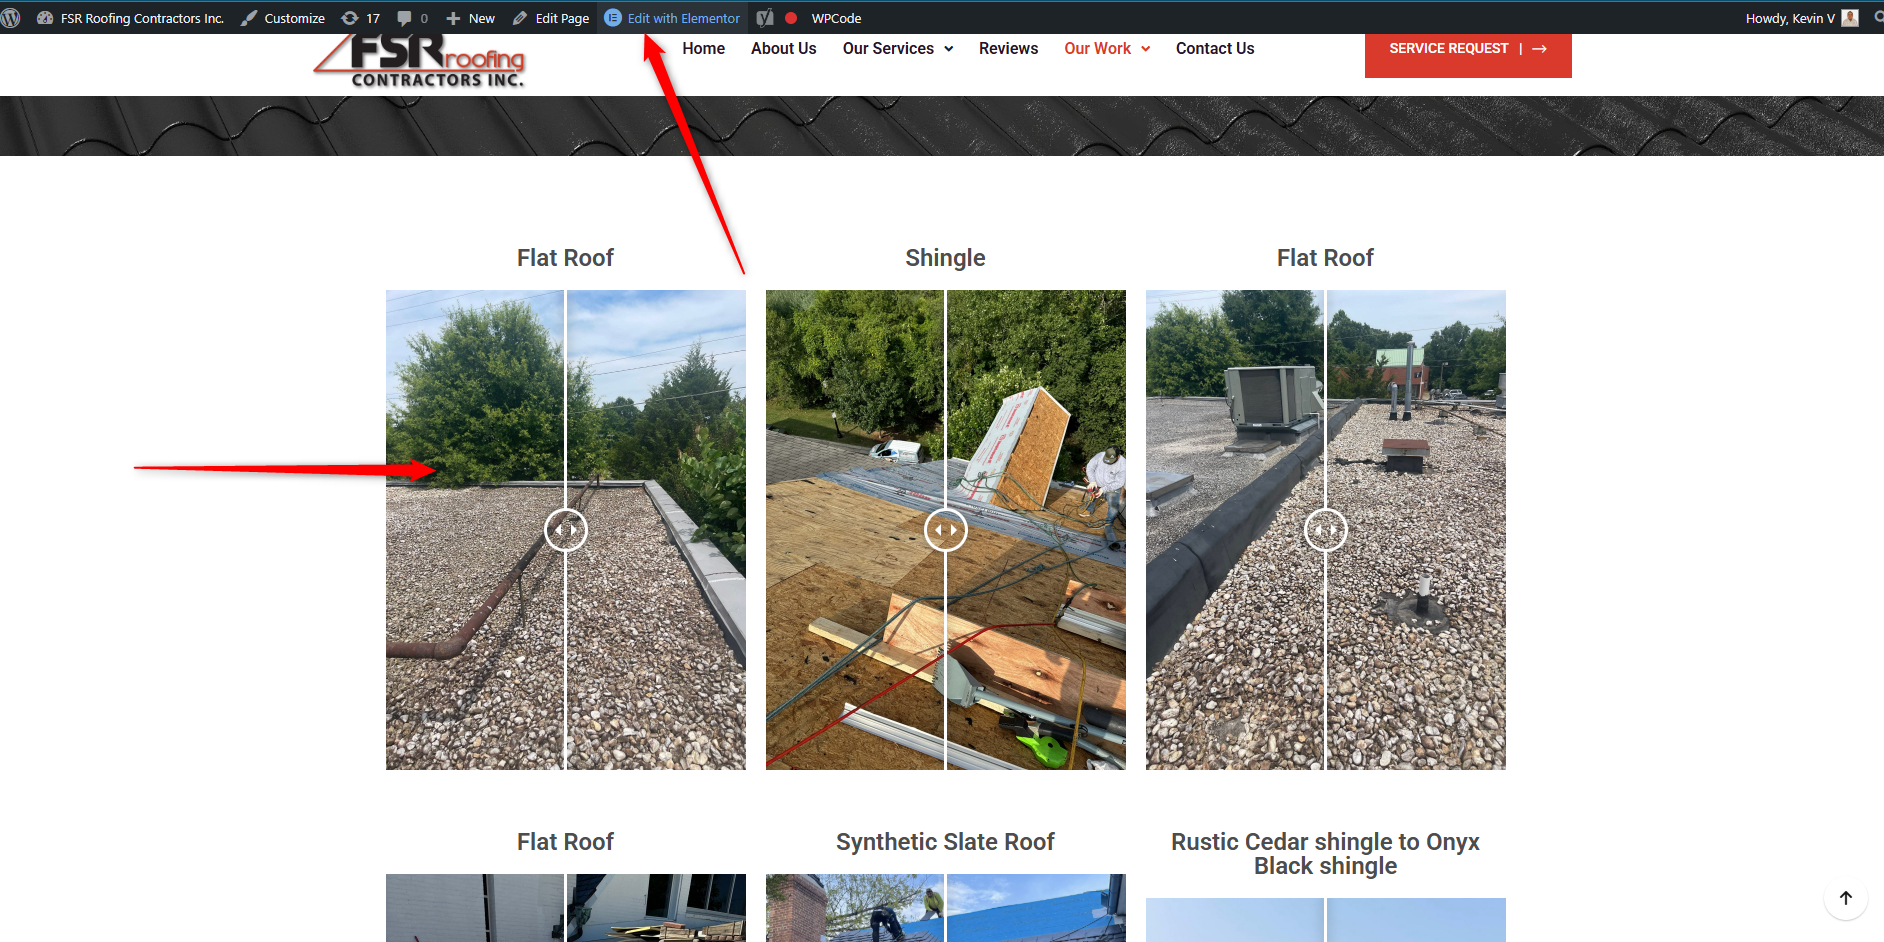
Go to the page where the Before/After block you want to edit is located.
-
Open Elementor by clicking the Edit with Elementor button in the top menu.
-
Select the Before/After block you want to modify by clicking on it.
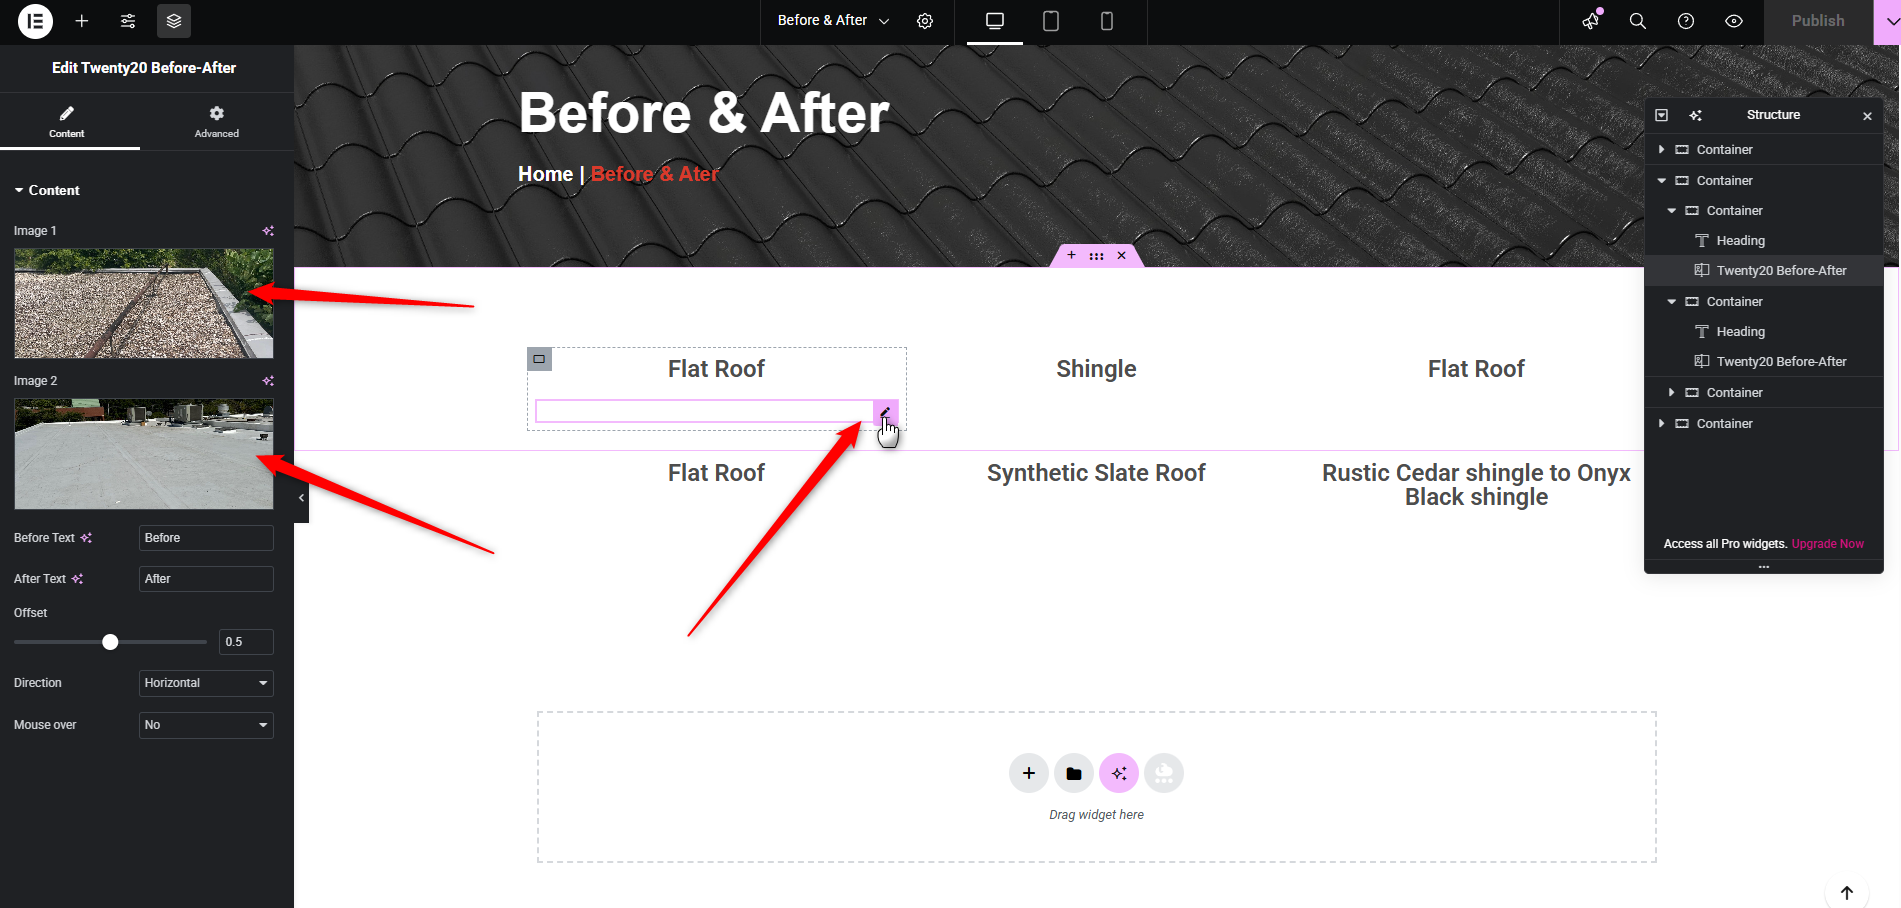
- To add a new Before/After, you must search for the module in the right panel. In the search engine you can enter the word before and drag the module called Twenty20 Before-After to the place where you want to add it.
- To modify the Before/After. Select the Before/After block you want to modify by clicking on it.
-
In the left panel, you will see the Before/After settings.
-
Upload or choose the images you want to display: one for the “Before” and one for the “After.”
-
Once you’re done, save your changes by clicking the Publish (or Update) button in the top-right corner.
23. How to Add or Change Before/After Images in WordPress?
- Details
- Category: Wordpress
 Español