


Introduction
The integrated File Manager in SiteWorx allows you to manage your website’s content without the need for external programs like FTP. With this tool, you can quickly upload, move, or delete files.
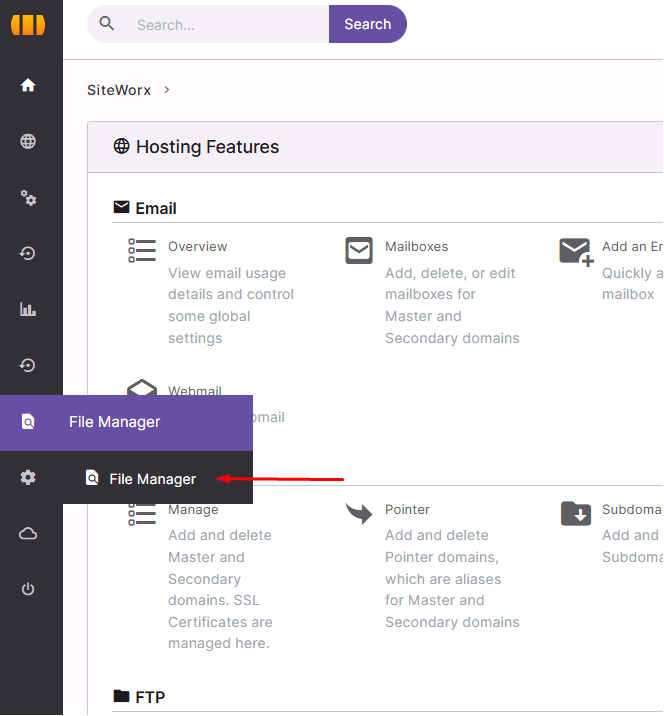
Step 1 – Access the File Manager
In the SiteWorx panel, go to:
Hosting Features → File Manager
You can also access it from the left sidebar menu by selecting File Manager.
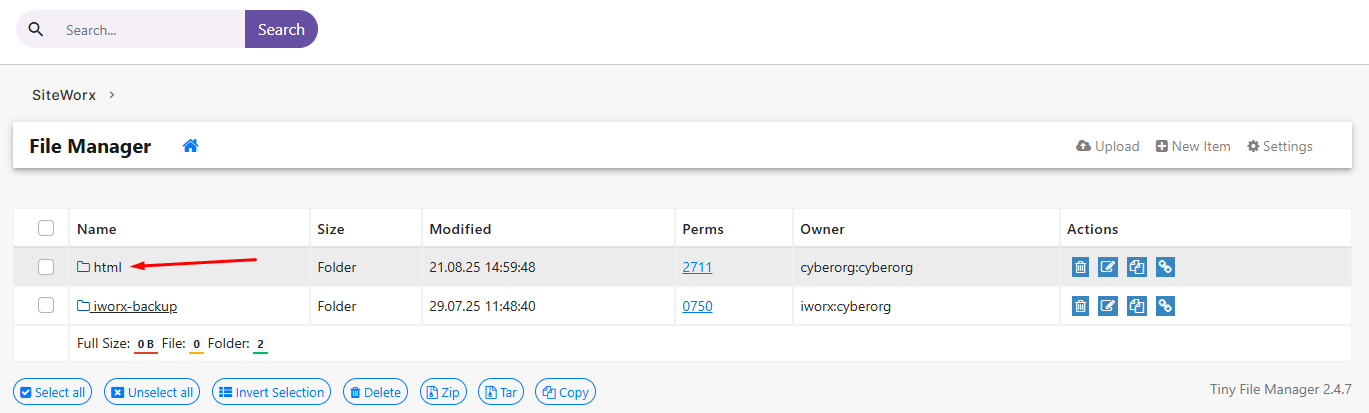
Step 2 – Enter the html folder
Click on the html folder.
This folder is the public directory of your website; everything placed here will be accessible from your domain.
Step 3 – Upload files
- Click the Upload button.
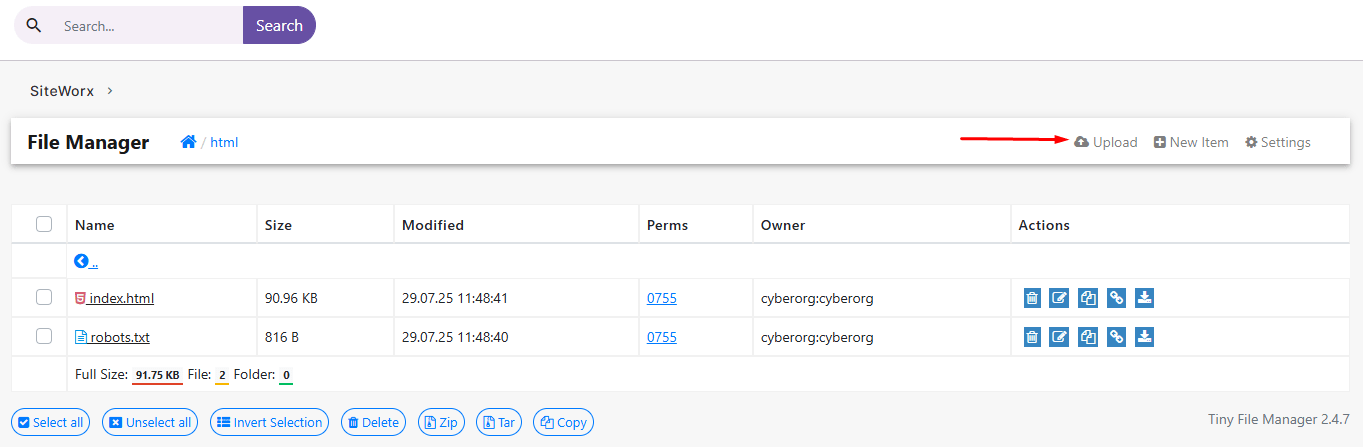
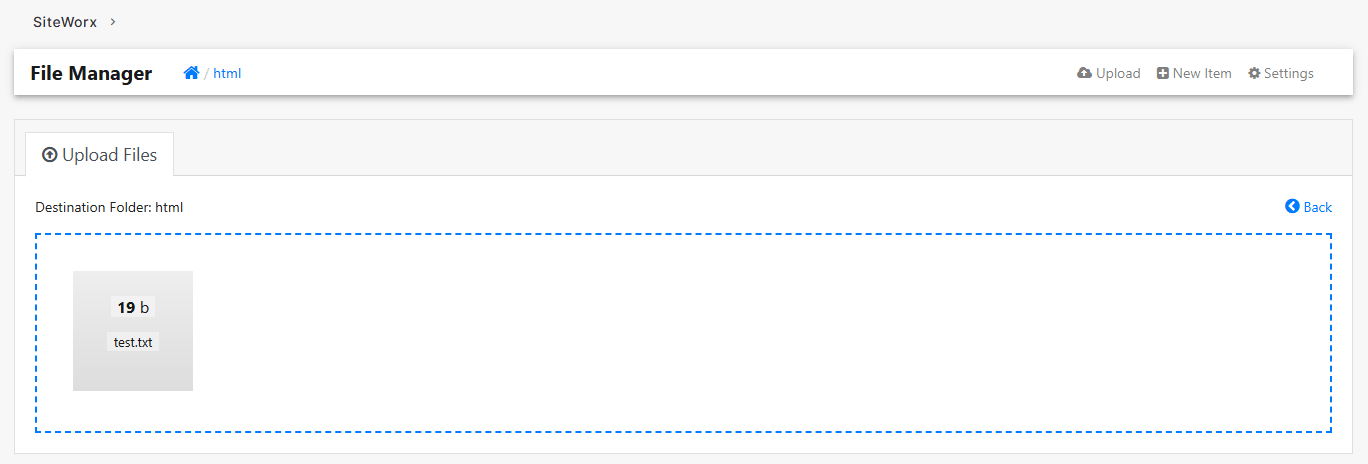
- Select the files from your computer.
-
Wait until the upload is completed.
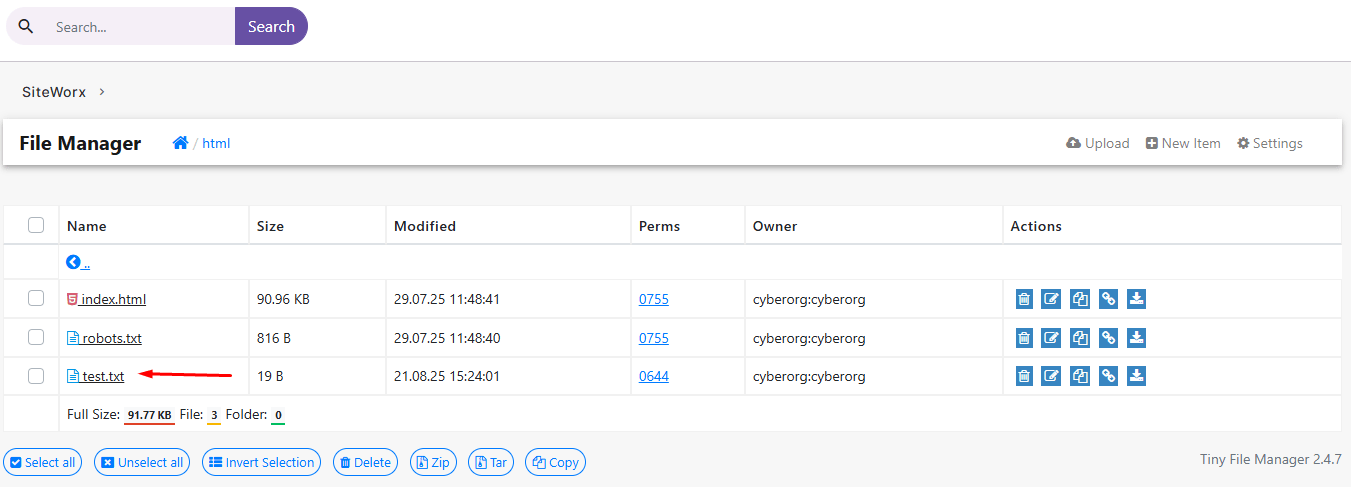
Step 4 – Verify the upload
Once the upload is finished, the files will appear listed in the directory you selected.
Recommendations
-
Upload only the necessary files to avoid saturating your hosting.
-
Keep an organized folder structure (for example:
/html/images/for images). -
If you are replacing an existing file, make sure you have a backup copy.
 Español